Showing posts with label Craftsy wednesday. Show all posts

Wednesday, October 24, 2012

Paper peacock

 There is always a time when you wish to create something new and you can find no crafting material at home.That's when paper comes in handy. I always enjoyed creating stuff out of paper. Be it origami or just paper cutting. 

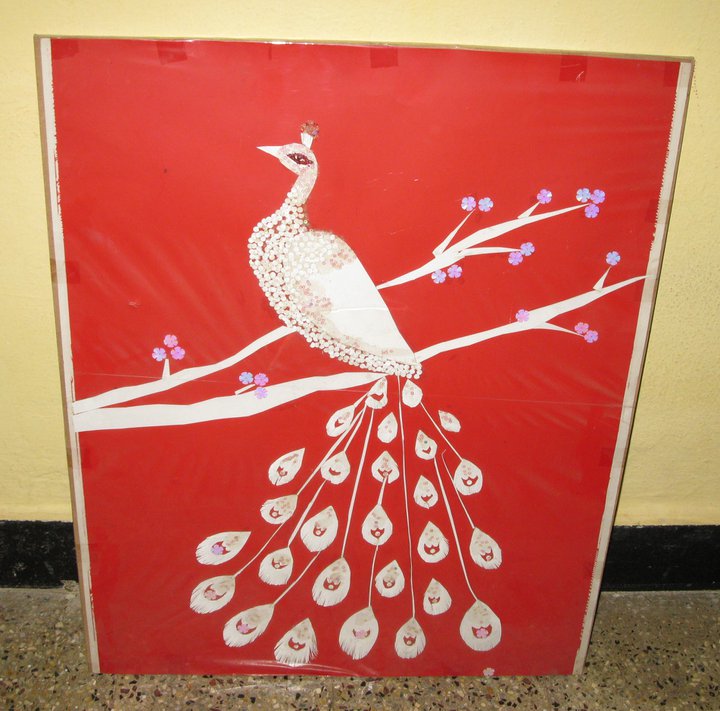
 This peacock made by my mom is created with plain white paper and a few sequins. The basic shape of the peacock was initially cut out. You need some kind of a base/ background for your artwork. Mom chose a board of thermocol and pasted red wrapping paper on it. 
 

 Choose a background suitable for your design. If your artwork is intricate and you chose a background with a lot of detail, they will blur each other out. Cut out the branch and place it on the background. Now cut the peacocks body. Play around with the placement until you are satisfied. Now stick them to the background. The details in the peacocks body are done with the round pieces of paper that come out of a paper punch. Glue the round pieces of paper on the body. Cut out pieces of paper in the shape of feathers, leave some space in the middle. Again, play around with placements until you are satisfied, then glue the feathers. Once all the tail feathers are in place, cut thin strips of paper and glue them connecting the tail and the body. To add drama to the picture , add a few sequins to the branches, in between each feather and on the crown of the bird.  Aaaaaaaaaand we're done!!

 Though it's time taking, you get some stunning pieces of art with this technique. 

Wednesday, August 1, 2012

Painting on Glass

Glass painting is one of the easiest forms of painting where your sense of colour plays a stronger part than your painting technique.
There are many types of colours available in the market but the easiest to use are the water based tubes used with a liner tube.

To paint , clean the glass well so that there are no traces of oil or dust. Lay the glass on a plain table , place the design under the glass. Trace the outlines of the design with the liner. Allow the liner to dry for a few hours. The liner stops the colors from flowing out of place.

Once the liner dries start filling the colours in place. Squeeze the tube gently and avoid air bubbles. Once the design is complete, leave aside to dry. Once the painting is dry, turn it around and display

The same techbique can be used on projector plastic sheets. Instead of using the liner, a marker pen can be used.

Wednesday, July 25, 2012

Pot/Vase paintings

 When I was in college, I had a fetish for pots and vases. I used to collect containers of various sizes, shapes and materials and turn them into vases.

Here's a collection of a few vases I had made during those years.

 Marbling has always been one of my favourite techniques of painting terracotta pots. This technique is so called because the final effect reminds us of the patterns on marble stones. I use oil paints while painting terracotta pots as it adheres well to the surface. In the above picture there are two pots that have been painted with this technique. The first one from the left has been painted in blue on a base coat of white, giving it a porcelain effect. The second one from right has been painted brown on a base of yellow, giving it a more earthy feel. For this technique, paint a terracotta pot with more than one coat of paint for the base color. Leave a time gap of a few hours between the coats. Leave to dry, Once the pot is completely dry, fill a container big enough for the pot to submerge in it. Add a few drops of contrasting oil paint to the water. Swirl the water , submerge the pot in the water and swirl it in the direction of the water. An elegant yet abstract pattern is formed on the water.

 The second technique that I have used is embossing using dough/clay. On the second basket from left and the third pot from right, this technique has been used. Here I have used epoxy putty to make various fruits: I mix both the pastes in the epoxy putty kit and mould it into strawberries. These strawberries have been stuck on to the middle of the basket . A few grooves have been made in the mould to represent the seeds of the strawberries. Similarly bananas and cherries have been made for the pot. This has to be done very quickly as epoxy putty dries at room temperature. Once this dries paint the basket/ pot with a base color and pain the fruits as well.

Another favourite vase of mine has been bamboo. I used to cut bamboo poles to 12-10 inch pieces.  These bamboos can be painted with various techniques.

One more technique is the flow technique. I mix a little glue to a color contrasting to the base coat. I drip a little color on the pot and and turn it in various directions so that the paint flows in the direction that the pot is bent in. This creates and abstract design.

Wednesday, July 18, 2012

The lost painting

 Today's post is about a painting I had left in our old apartment while moving out. I did not realize it until a few months later.


 While we were living in Tampere , it was the peak of winter and we couldn't go anywhere because of the snow. So, I took to painting. Acrylics have always been a favourite medium for me.

 I started off with this pre primed stretched canvas. I wanted to paint a face, but I had never done it before. Took me a couple of hours to finish this one.

 I started off with tracing out the outline of the face on the canvas, I filled the face with the flesh tint that I mixed (I do not use ready made flesh tints). I used a combination of, white, cadmium yellow, cadmium red, and raw umber for the base colour. MY brush strokes normally don't go in one direction, but this painting required that I run the brush in the shape of the face. Pretty much like applying make up . Once the base coat dried, I mixed a smidgeon of prussian blue in the flesh tint and dabbed wherever the shadows were required (The neck, chin etc)

 Next I painted the lips in a combination of cadmium red and white. Instead of shading the lips, I created an outline with cadmium red, which created an illusion of shading.

 Now the eyes were the most difficult part to paint. The base coat, though looks like it, is not white. It is white with a slight mix of gray. Once the base coat dried, I painted the pupil and the iris with two shades of gray, lighter on the outside, darker on the inside and a dab of the lighter shade on the center. I drew the eyelashes with the tip of a  fan brush and used the same strokes I would use while applying mascara.

Before I painted the hair, I wanted to paint the background as it would be difficult to paint the background after details are in. I painted a gradient of blue and green as the background. Not much care was given to the brush strokes.

 After the background dried, I started painting the hair. I wanted the hair to reflect the coor of the skin and did not want it to look artificially black, So I mixed a little dark brown in what remained of the flesh tone. I wanted the hair to have a flyaway look, so the strokes went down from the top of the head and outward. I did not measure the placement of the eyebrow properly , hence the surprised expression :).

 Finally, I ended the whole thing with a Yellow/blue/ brown frame to highlight the face and some jewelery in the colors of the background.


Wednesday, July 11, 2012

Painted Coffee mug


 Don't you just love drinking coffee? Nothing beats a warm, comforting mug of coffee on a cold day. I love gifting coffee mugs to friends, they are so utilitarian and decirative at the same time.
One such mug I made for a friend, is todays topic. This one is more on the decorative side.

 I wanted to present a coffee mug to a friend of mine who loved going on looong coffee breaks. His name started with S so I decide to paint his initial on it.

 To paint on a mug, you need to clean it really well to remove finger prints and any traces of grime. I usually use acrylic or fabric paints to paint on ceramic. These days there are also ceramic paints available, which can be baked in an oven to make them dishwasher and microwave proof.

I first painted his inital on the mug, but felt it was too simple. Then i added a few dots to the sides. These reminded me of bubbles and I tried to give it a coral theme. I rummaged through my mom's shell and bead collection and found some really beautiful shells.

 The thing with ceramic is that it is difficult to stick anything to the smooth surface. I used epoxy putty to stick the shells to the mug. You have to be very quick as epoxy putty hardens very quickly. Once the shells were stuck to the mug , I painted them in bright colors. I used pearl fabric paint for this. On the mug I painted a few weeds all around.

I waited a day for the mug to dry , just in case and Voila, a beautiful, coral themed mug. Try not to use water or oil colors because they will not adhere to ceramic. Another technique that I often use is duct tape stencil. I wrap the mug in duct tape to form a random striped pattern. I dip a sponge in color and dab it on the mug. This gives the mug a geometric pattern with a unique texture. You can also use paper, knives or dry brushes to give unique textures. If you want it to look more girly or decorative, sprinkle a little glitter on the wet paint or outline the pattern with glitter.

 Have you ever painted on ceramic? Do share your pictures.

Wednesday, July 4, 2012

Craft of the day - Quilling

Have you ever heard of filigree? It is the art of intricately carving silver to form elegant decorative silverware. However, Silver is not very affordable and it is not something you would want to easily experiment with.

Quilled Flower
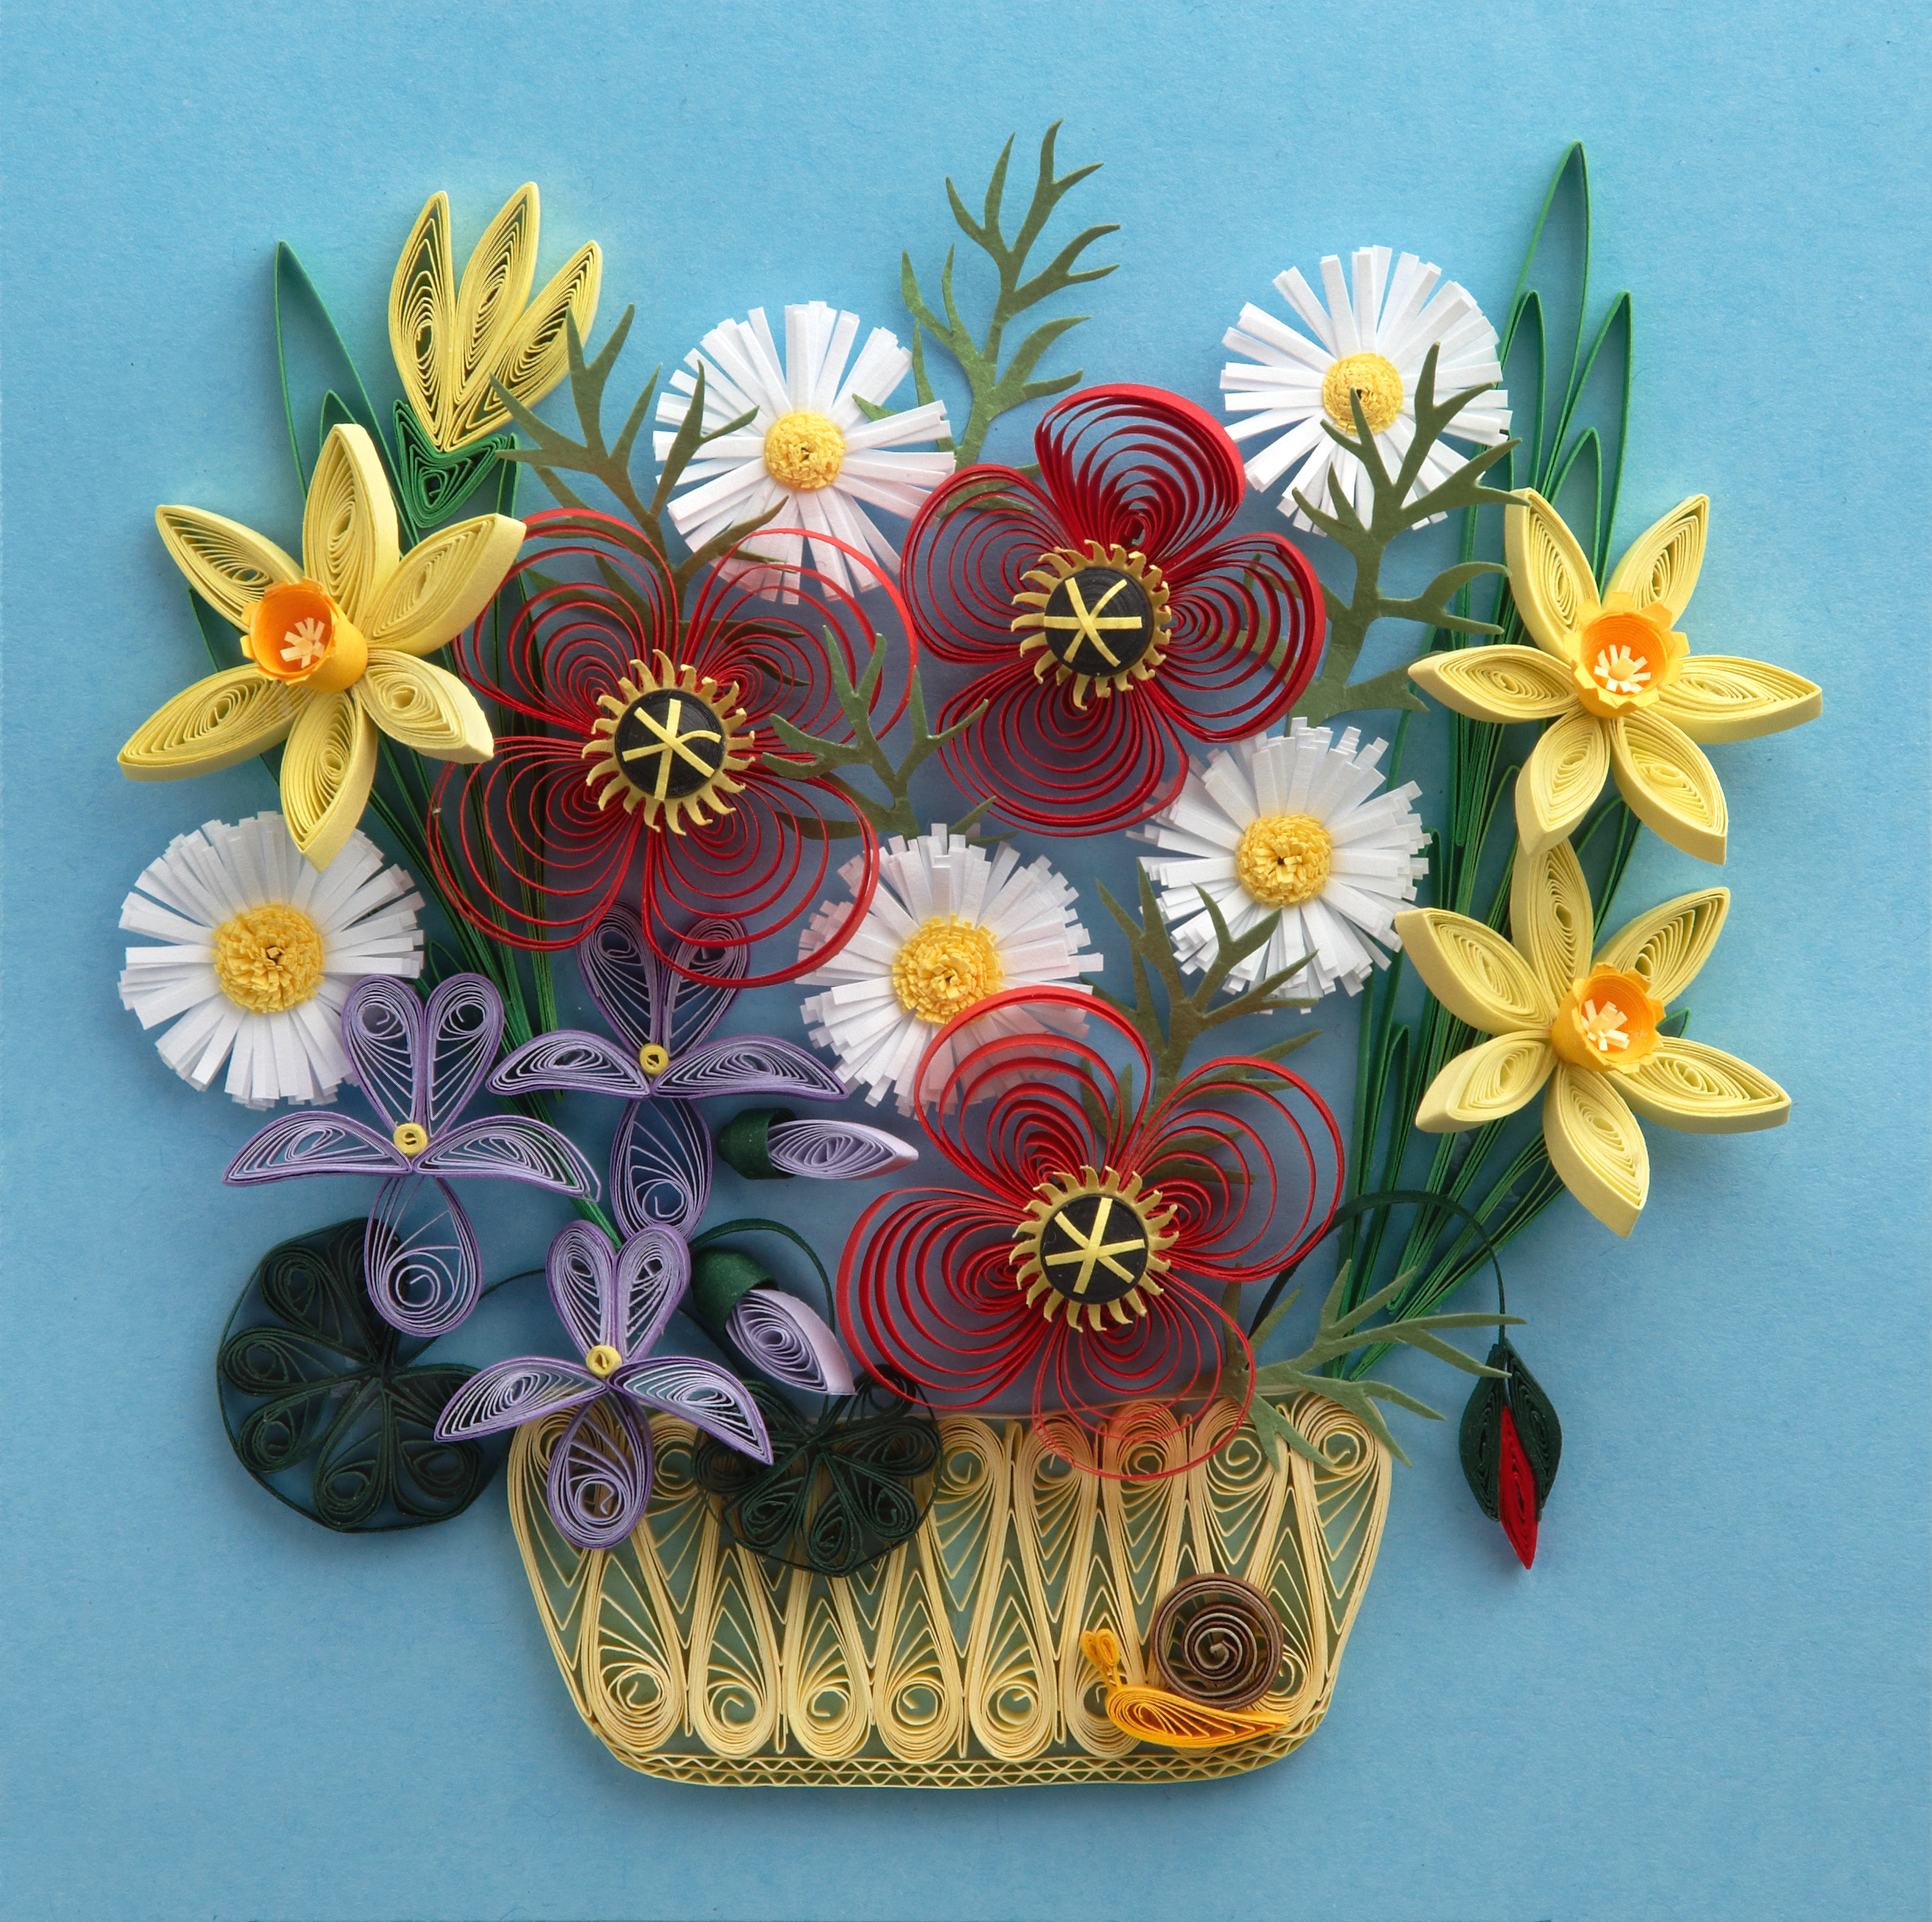
 Try paper filigree or Quilling as it is usually called. Quilling involves turning paper strips into intricate art forms. The strips of paper are rolled, shaped and  glued together to form decorative designs. The paper is wound around a quill to create a basic coil shape. The paper is then glued at the tip and these shaped coils are arranged to form flowers, leaves, and various ornamental patterns.

Paper Quilling was introduced during the renaissance in France. The nuns would use gold gilded paper and roll it into decorative art forms instead of the more expensive gold filigree.

Quilling Basic shapes
A quilled flower bouqet
 Quilling paper is cut into strips and rolled into shapes as in the picture. These basic shapes are then put together to form designs. You can use these shapes to create flowers, 3D models of animals, jewelry, even landscapes.

There are various types of paper available for quilling in the market. Some papers usually used for quilling are Acid free, graduated and two tone graduated quilling paper. Essentially any paper that is thick enough to hold its shape after rolling can be used. These days pre-cut colored paper is also available. 


Have you ever tried quilling? Do share your work with me . Here is something made by my mom. 

A Quilled Rooster
Image source : wikipedia

Engagement Ring Tray


 Since I was a child, I had an affinity towards scisccors and glue. I would cut papers, staple them, paint on them and always end up making something out of it. Creating stuff by myself always gave me a high. From origami to jewelry making, I had tried it all. Making little trinkets or gifts for friends was an everyday thing.

 One crafter friend of mine had a deal with me. You make my engagement ring tray and I'll make yours. I made hers, but she could never make mine as I did not have an official engagement.

The engagement tray


  While browsing the net one day, she saw an exquisite engagement ring tray made with shells and wanted something similar. A couple of days before her engagement I visited quite a few stores and picked up a few plain trays. The green tray got the green signal from her.

 I found this little embellishment which I thought was perfect for the tray. A little stattuette of a girl and guy about to be wed. I used it as the centrepiece of the tray. However, the colors on the litle dolls did not suit the tray. That called for a paint job. I painted the girls lehenga turquoise and the guys turban to match it. Then gave a fresh coat of paint to the guys sherwani, to match the shells. I used acrylic pearl colours for most of the painting. I placed the dolls on a platform of shells and used a discarded spring to add a little glitz to the focal point.

 Apart from the ring, a pair of earrings and a necklace was also being presented, so niches were created for them using the shells. Once all this was done, I added a few star spangles and used transparent, glitter nail polish to fix them in place (Could not find anything else on time )

Voila! The engagement jewlery tray! Though the design idea was mine, I must mention my mom who put in a lot of effort on this tray. I could not give it all my time as I was leaving for Finland the next day.